Time Lapse Photography
So my newest project has been to try out time-lapse photography, something that actually isn’t very expensive to accomplish but great fun to produce (although the actual time lapse can get rather boring as once you have set up your camera, it’s just click and go for about 15-20 minutes depending on how long you want your final product to look like?
So my initial research showed me that pretty essential, but not completely necessary) are of course your DSLR, and a wide angle lens, and most important a tripod!
The next thing I had to look at was what they call frame rate, now this to help you decide how “jolty” or “smooth” you want your final time lapse to be.
1. First you have to work out your “frame rate”, i.e. 24frames per second or 30 frames per second. 2. Then you have to decide how long you want your video to be?
For example; 15 seconds x 24 frames per second = 360 individual photos.
3.Then you need to select the photo interval this will help you work out how much time you will actually spend taking the photos; for example if you take 2.5 seconds x 360 frames=900 seconds. The divide 900/60=15 minutes.
Here is a general guide to Interval times for the beginner, of course you can play with these how you want , but these are pretty good guidelines to start with ;
Intervals
1 second= Moving Traffic, Fast Clouds, Driving Lapses
1-3 seconds=Sunsets, Sunrises, Slow Clouds, Crowds, Sun and Moon nr. Horizons and anything photo’d with a zoom lens.
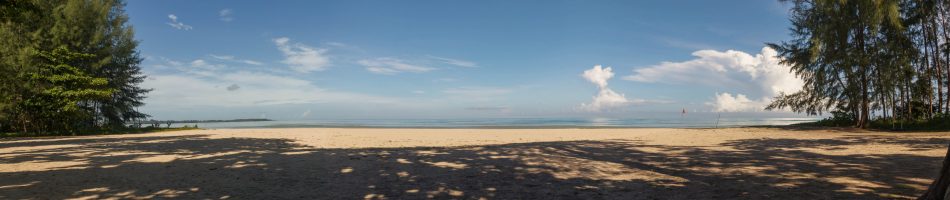
15-30 seconds= Shadows across the sky
15-60 seconds= Stars
90-120 seconds= Fast growing plant
5 minutes-15 minutes= construction projects
Always shoot faster than slower if you are not sure of intervals.
Now one of the other really important things is with time lapse, to reduce what they call “flicker”, this occurs when there is changing light in the scene, usually from the sky.
You can reduce this by;
1.
A. Shooting on full Manual mode
B. Manual ISO
C. Manual White Balance
D. Manual Focus
2. Shooting at the lowest F stop possible
A. Using a manual lens if you prefer.
Of course now there is much software that will help reduce or eliminate “flicker” pp. But it always looks better to try and get rid of as much as “flicker” before you pp as this will help pp processing time.
Now this isn’t it! There is more, but I have only tried out the first two stages all very amateurish so far, so I will share with you here the first two efforts that I have made in Time lapse Photography. Primarily because it is time consuming whilst doing it, and I am still learning , and I have two batteries(you will need both fully charged), and I am still looking at suitable subject matter and locations to keep this practice up!!
Point to note, there are many different sorts of Time Lapse Software out there. I am on a limited budget and currently use “Time Lapse Tool” which is currently free. I guess if I had the money I would buy LRTimelapse, just because I already use LR5.7 and its easy exporting the files straight to the TL software.
This was my very first attempt at the apartment where I live. A good sky and a reasonably blowy day gave me the cloud movement I was looking for. I will post images of my set up in the comments as per usual! Music was added pp


